Installation media#
Overview#
In order to install PureOS, you need to create a bootable USB flash drive. There are several ways to do this:
Environment |
Tool |
|---|---|
Using a USB flash drive from Purism |
|
Using a GNU/Linux computer |
|
Using a Windows or macOS computer |
|
Using the terminal on GNU/Linux, macOS, or Windows Subsystem for Linux |
Use a Purism OEM or Live USB drive#
If you have already purchased a Purism USB flash drive that contains an “OEM” or “Live” image of PureOS, you are already finished! There is no need to continue this section of the guide.
See also
Burn images using GNOME Disks#
Warning
This action will permanently erase all data on your SD Card/USB drive!
Open GNOME Disks and navigate to your USB drive:
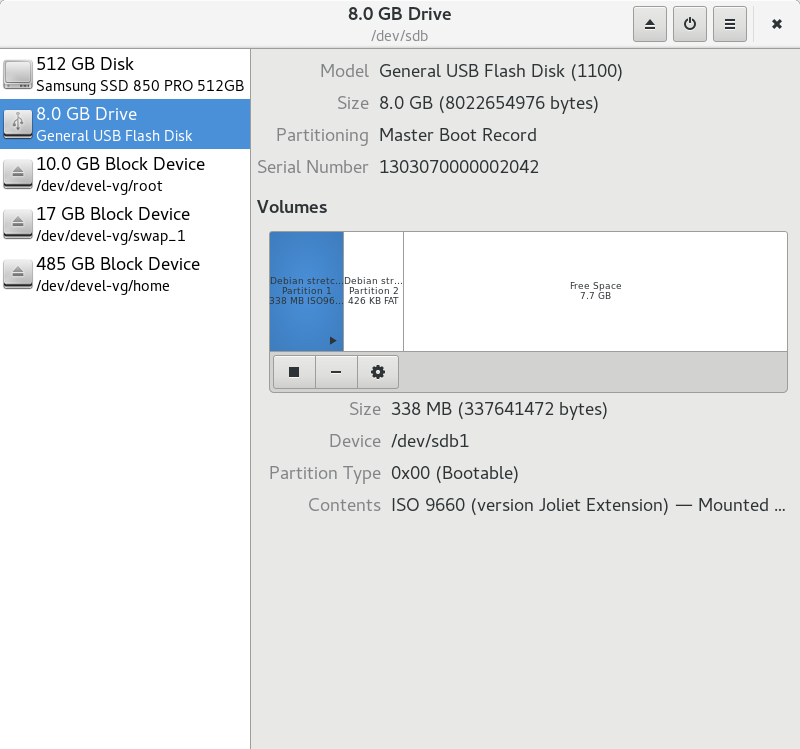
Then press the menu button (☰, in the upper-right corner) and choose
Restore Disk Image. A pop-out window with option to choose which image will open: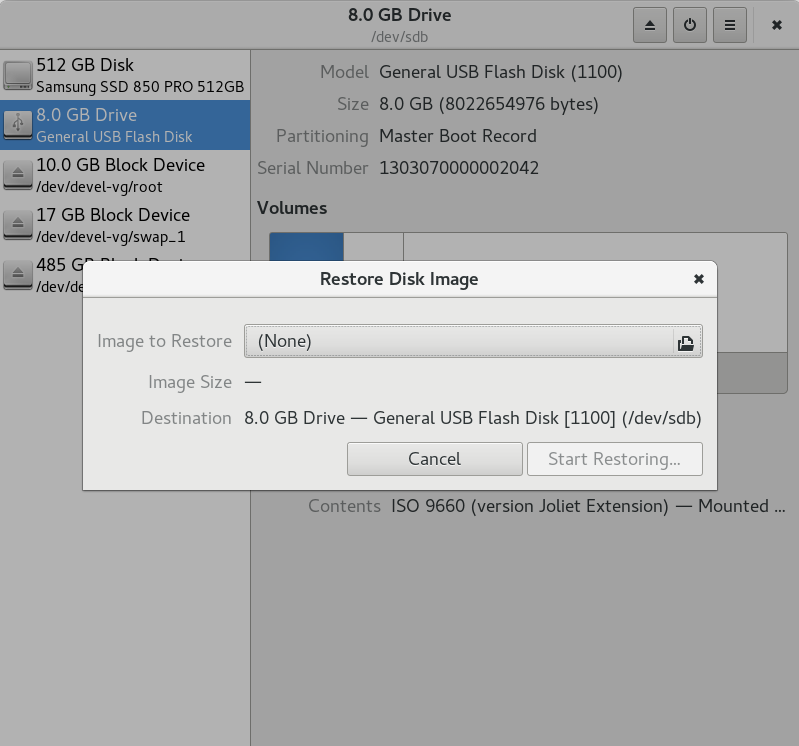
After you press
Start Restoringit will prompt you for your password. Wait until it finishes and your image is written on your USB drive.To boot from an SD card with a new image, you must insert your SD card and restart the device. At the boot screen (with the Purism image) you must press the escape button (top left on the keyboard) which will bring you to a menu of different drives you can boot from. Select the drive you need, in my case it was “USB MSC Drive Multiple Card Reader 1.00”
Follow the prompts as the new image boots.
Burn images using Etcher#
The ISO file you downloaded and verified must now be written to an SD card/USB drive. There are many ways to do this. In this tutorial, we are using a program called Etcher.
See also
You are also welcome to use Rufus software for these steps, if you prefer. See this video tutorial for a detailed guide using this software.
Follow instructions to download and verify the PureOS ISO image.
-
Note
Etcher supports various types of images: iso, img, dsk, hddimg, raw, zip, gz, bz2, xz.
Warning
This action will permanently erase all data on your SD Card/USB drive!
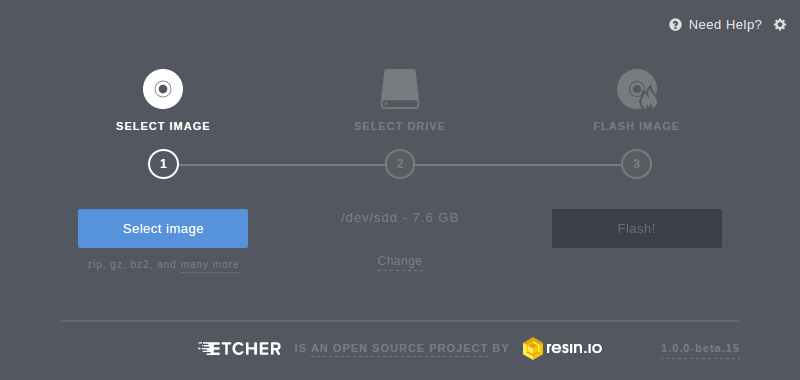
Launch Etcher and select your image:
Select your USB drive and click
Continue: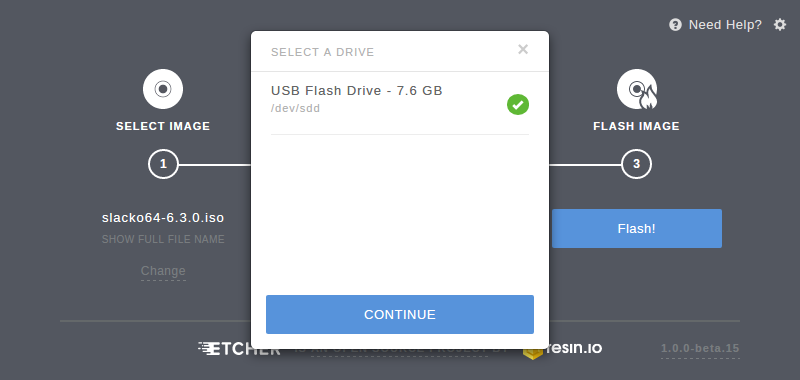
Click
Flash, and wait until Etcher flashes the image and verifies it: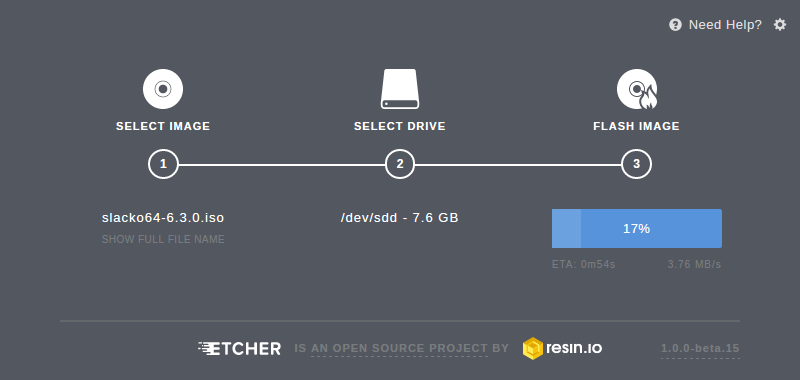
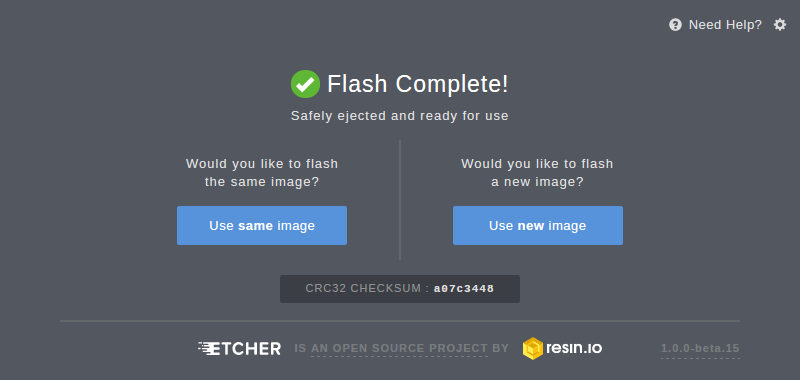
Once it completes, your image is written to your SD Card or USB drive:
Burn images using dd#
Warning
Choosing the incorrect drive designation could cause you to unintentionally and permanently erase your valuable data, like the / or /home partition!
Triple-check that you are using the correct block device when running this command!
This action will wipe all data on your SD Card/USB drive!
Insert USB drive but do not mount it. The drive must remain unmounted. If your operating system mounted the drive automatically, simply unmount it.
Launch a terminal emulator. Run the following command to check drive designations:
sudo fdisk -l
To write the image to the USB drive, run the following command. Replace the X in
sdXwith your USB drive designation as discovered above. For example:sdc(be very careful here!). Thesynccommand is important. Do not omit it!sudo dd bs=4M if=/path/to/PureOS-2.1.iso of=/dev/sdX status=progress && sync
The device is ready after the dd command completes without errors.