Disassembly#
Summary#
The Librem 14 is deliberately made easy to repair and upgrade. By removing just a few screws, you can easily replace or upgrade the battery, WiFi module, RAM, or the m.2 SSD.
See also
Downloadthe video
Procedure#
D-shell removal#
Ensure that the Librem 14 is completely powered off.
Disconnect any external power supply from the Librem 14.
Carefully remove the D-shell (bottom panel) screws; store the screws inside a tray for safekeeping.
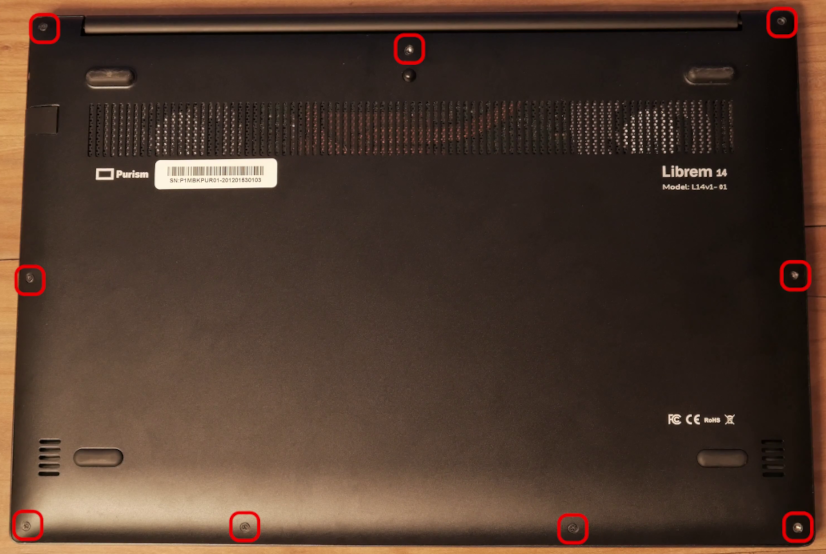
The bottom (D-shell) uses M2x4mm countersunk Phillips-head screws#
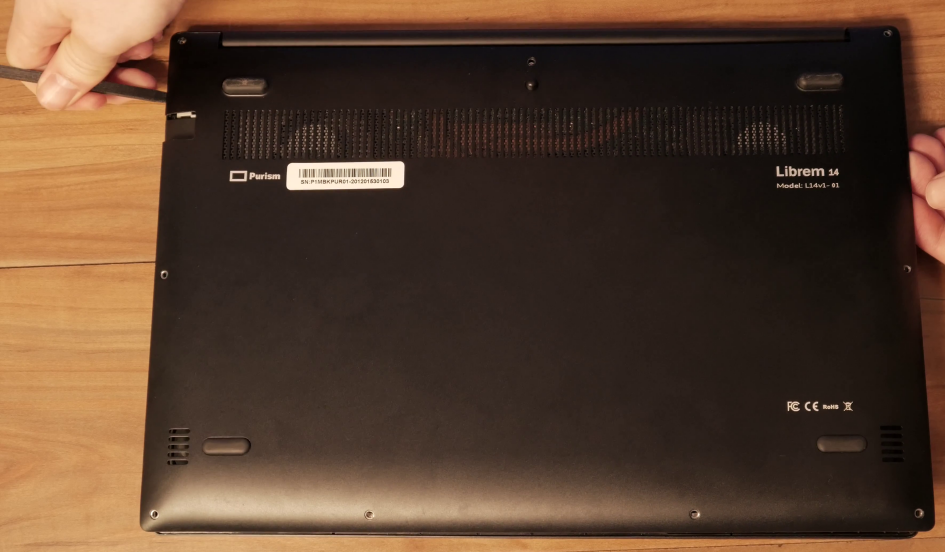
Use a pick or spudger along the edges to remove the D-shell.
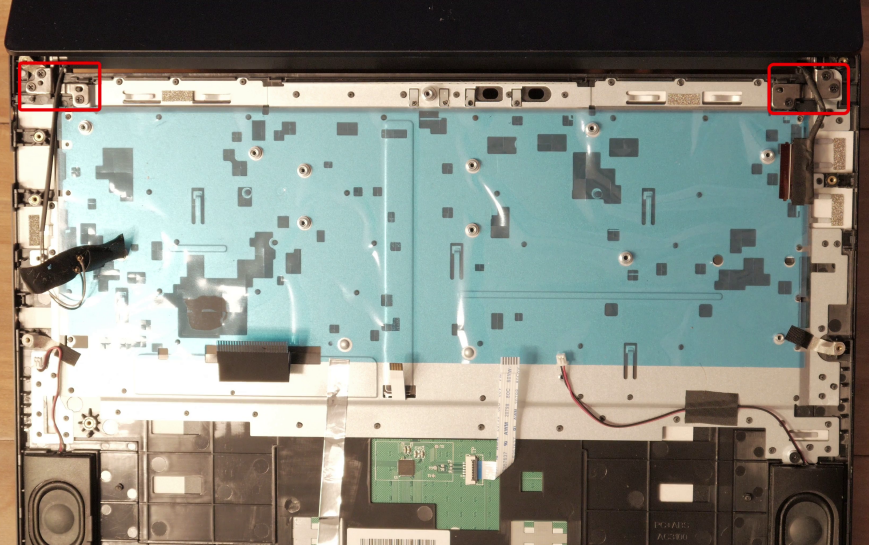
Display hinge#
The display is attached to the chassis with a few screws.
To remove the screen:
Remove the D-shell if not already removed.
Open the Librem 14 display partway and support its weight so the hinge is not under tension.
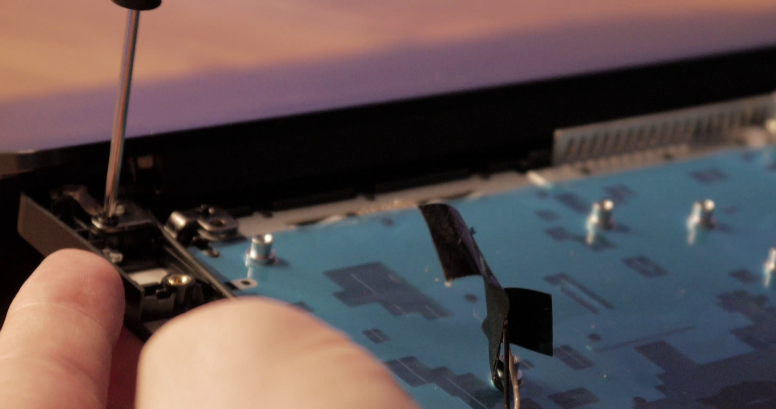
Unscrew the monitor on both sides, and pull the screen free.
To reinstall the display hinge:
Re-align the screen and screw it down.
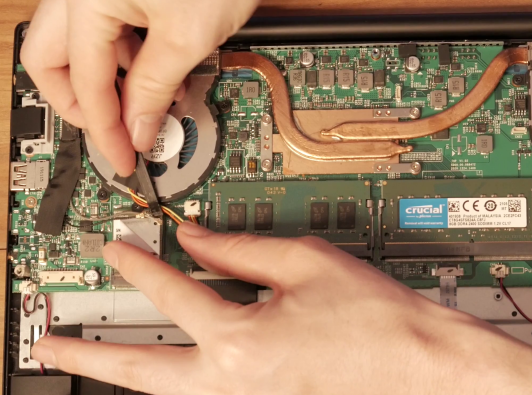
WLAN module removal#
Remove the D-shell if not already removed.
Disconnect the two antennas.
Unscrew the WLAN module.
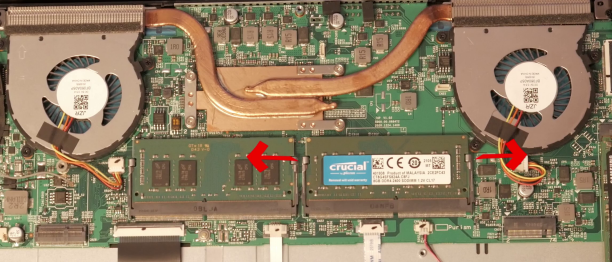
RAM module removal#
Remove the D-shell if not already removed.
For each RAM module, gently and simultaneously pull both metal tabs outward from the module. The RAM module should pop outward.
Pull the released RAM module out from the mainboard socket at the same angle in which it is positioned in the socket.
M.2 SSD removal#
Remove the D-shell if not already removed.
Unscrew the M.2 SSD retaining screw.
Pull the SSD out from the mainboard socket at the same angle in which it is positioned in the socket.

Internals#
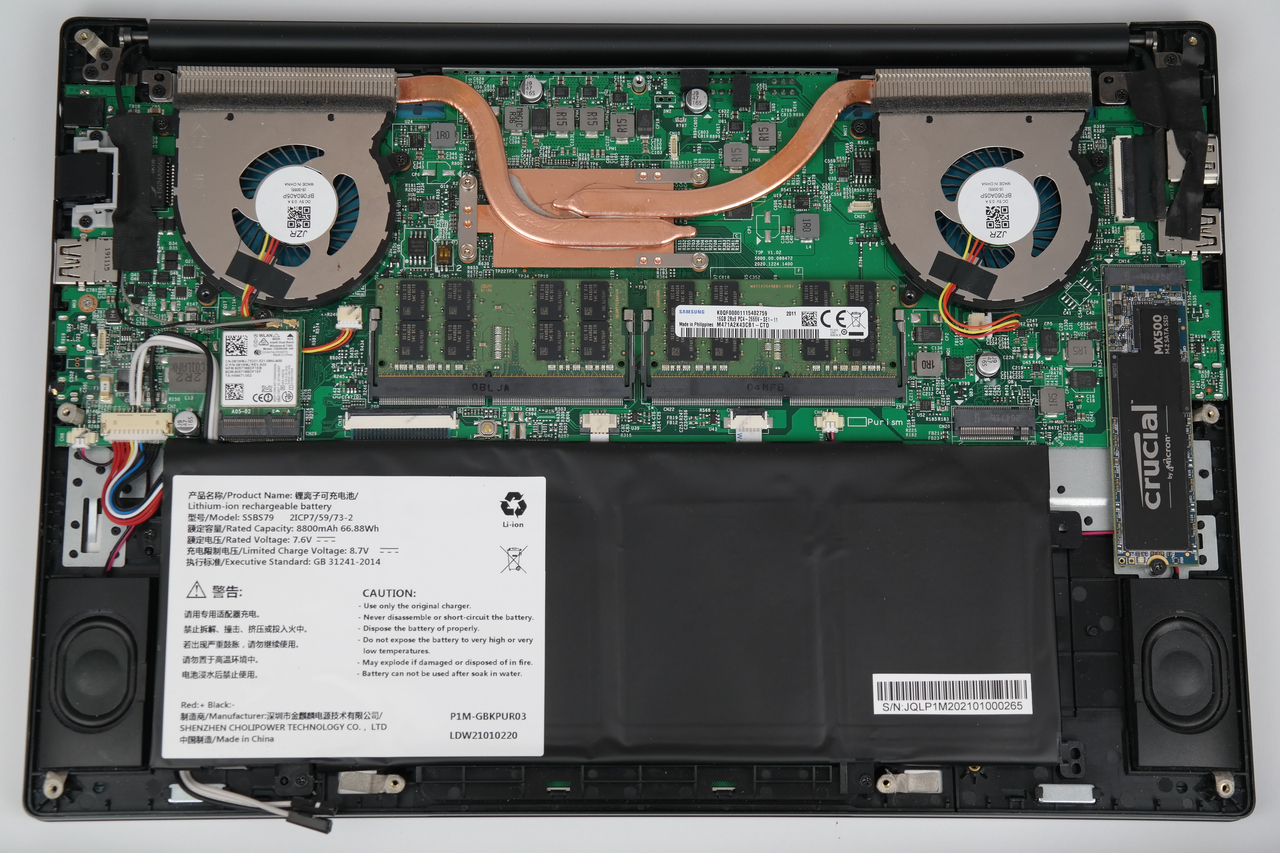
Mainboard#
Top of the Librem 14 v1 mainboard#
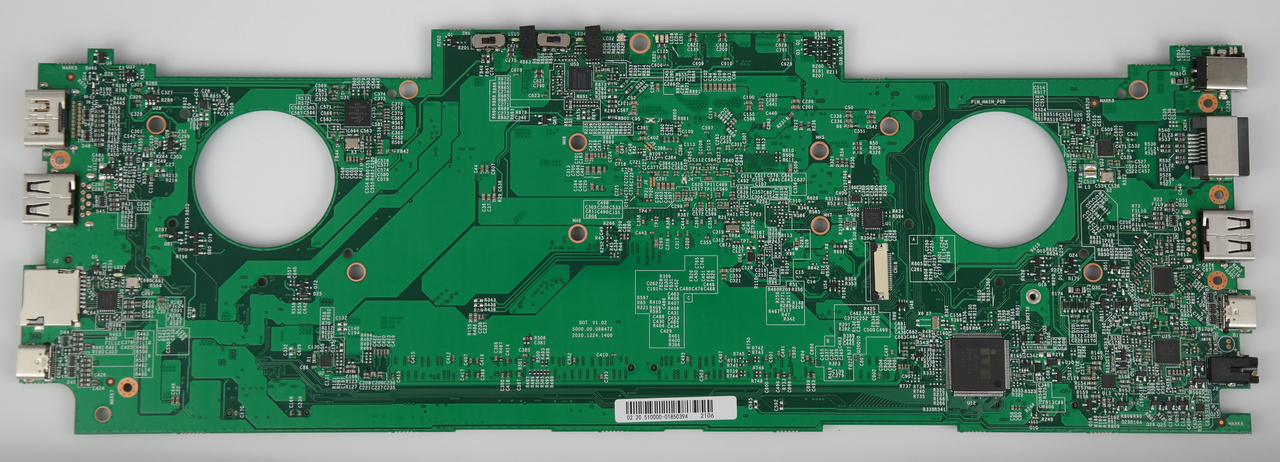
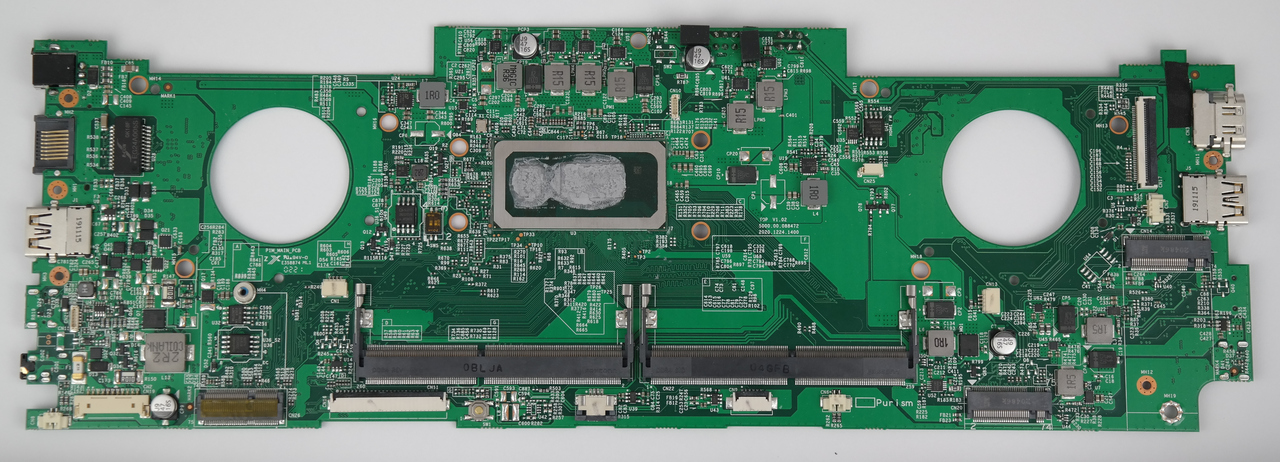
Bottom of the Librem 14 v1 mainboard#
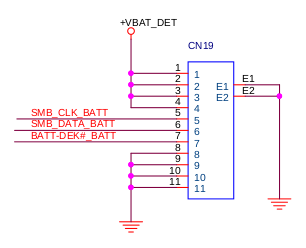
Battery connector pinout#