Contacts
You can manage the phone numbers, e-mail addresses and other details of your contacts with the Contacts application.
Locate the icon shown above in the app drawer and press it to launch the application.
Setup
When you start Contacts for the first time, you will see the Contacts Setup page that lets you select the address book to use. Unless you have already set up online accounts, the only available address book will be the local address book.
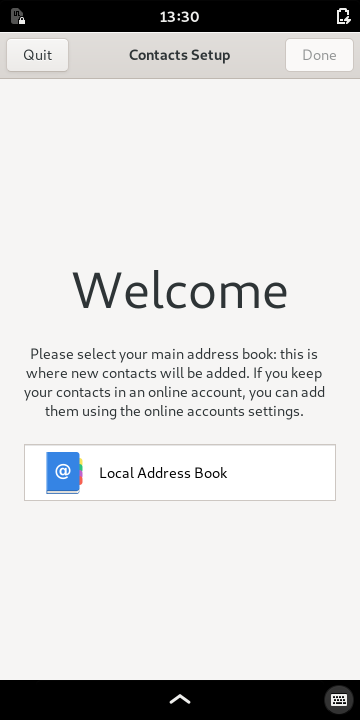
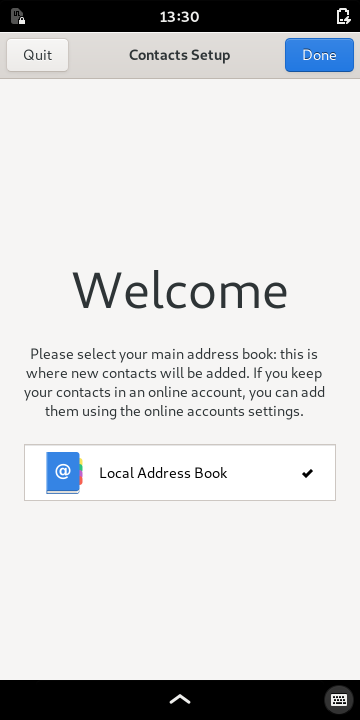
If you only want to use the local address book, select the Local Address Book label and press the Done button to proceed. You can add online accounts later.
If you would rather configure online accounts first, press Quit and start Contacts again later.
Adding contacts
The list of contacts is initially empty. You can add contacts one at a time, or you can import them from an existing file.
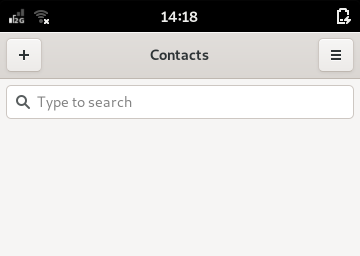
To add a contact, press the + (plus) icon in the top-left corner of the screen. The New Contact page will be shown. Here you can enter information about the contact.
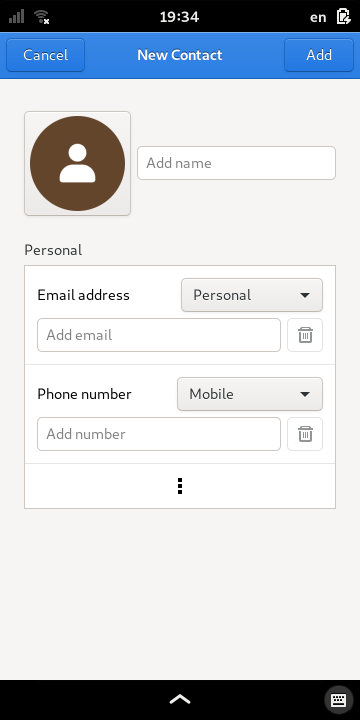

Other than the name and contact information, you can also choose a picture to make it easy to quickly identify them in conversations. Press the image button next to the name to do this.
When you have finished adding contact information, press the Add button in the top-right corner. The new contact should appear in the list. If you wish to discard the information instead, press Cancel.
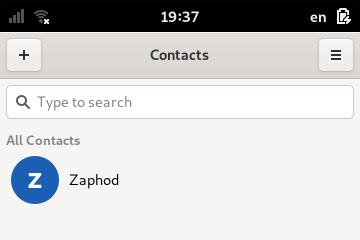
More contacts can be added in the same way. Alternatively, you can import an existing set of contacts by connecting to your online accounts.
Viewing contacts
To view a contact, press its entry in the contacts list. A page will appear showing the name, picture and contact information.
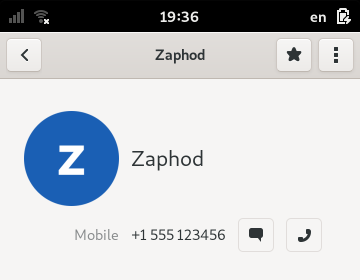
To return to the contacts list, press the back button in the top-left corner of the screen.
You can start a conversation with the contact by pressing the envelope icon next to their mobile phone number. This will launch Chats, the messaging application.
You can also start a phone call with the contact by pressing the handset button. This will launch Calls, the phone application.
Selecting favorites
In the contacts list, favorites are shown in a separate list above all other contacts.
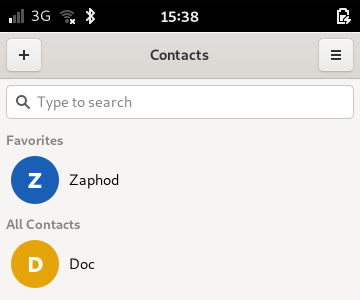
To add a contact to the list of favorites, enter the contact view by selecting a contact in the list.
When viewing a contact you can press the (star) button in the top-right of the screen to add the contact to your list of favorites.

The button will remain pressed. To remove the contact from the list of favorites, press it again to deselect it.
Press the back button to return to the contacts list.
Editing contacts
If you need to update or correct a contact’s information, you can edit it by pressing the relevant item in the contacts list to view it.
Next, press the (kebab menu) icon in the top-right corner of the screen to open a menu, and select Edit to open the Editing page.
This allows you to edit and add new information in the same way as the New Contact page.

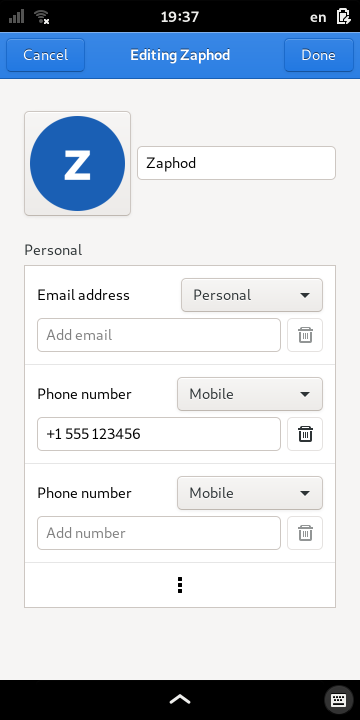
This page only shows the details that you created when adding or importing the contact.
You can add new ones by pressing the (kebab menu) button below the contact details.
When you have finished editing the information, press the Done button in the top-right of the screen to save any changes, or press the Cancel button in the top-left of the screen.
Deleting contacts
If you want to delete a contact, you first need to view it by pressing the relevant item in the contacts list.
Next, press the (kebab menu) icon in the top-right corner of the screen to open a menu, and select Delete.


The contact will be immediately deleted. However, you will have a short time to undo this action if you change your mind. Press the Undo button to recover the contact.
Importing contacts from online accounts
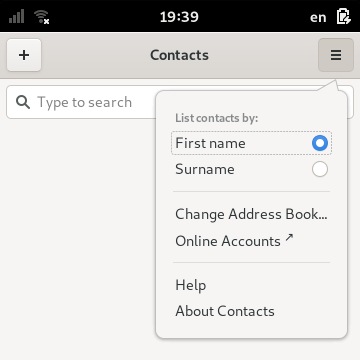
You can link contacts saved via an external provider. Return to the contacts list, open the application menu and select Online Accounts to start the process of connecting to a service.
See also