Breakout Board
Overview
The Librem 5 breakout board is a great way for hardware hackers to add functionality to your phone. When attached, you’ll have nicely exposed programmable pins. This allows you to use I2C, serial, and many digital sensors, much like you would on a single-board microcomputer.
With this setup, you can add ambient temperature, gas, humidity, and many other sensor types to your Librem 5.
Planning
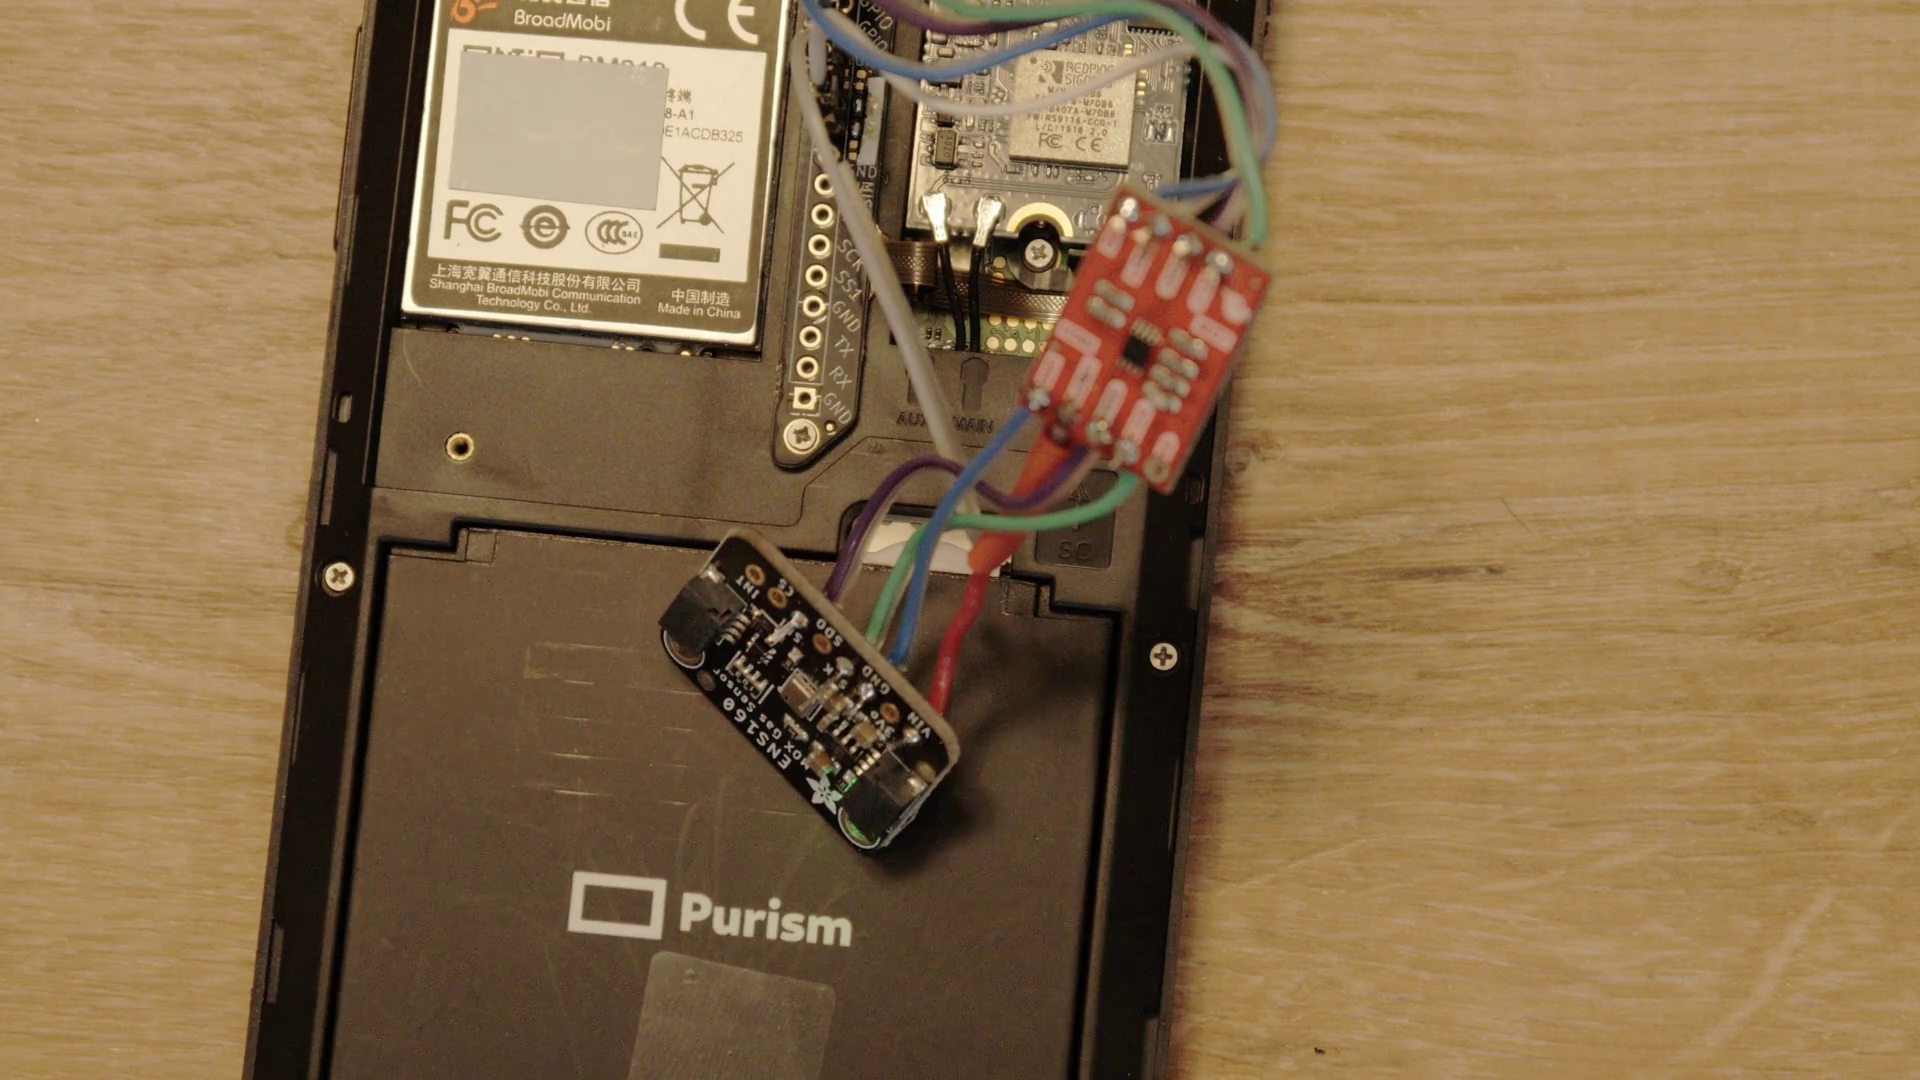
Once you get your Breakout board and other needed electronics for your project, you can plan out which pins you’ll need. For this example, we are using I2C for an ENS160 gas sensor. The Librem 5’s I2C logic voltage is 1.8V, so we use a PCA9306 level translator breakout board to translate it to 3.3V.
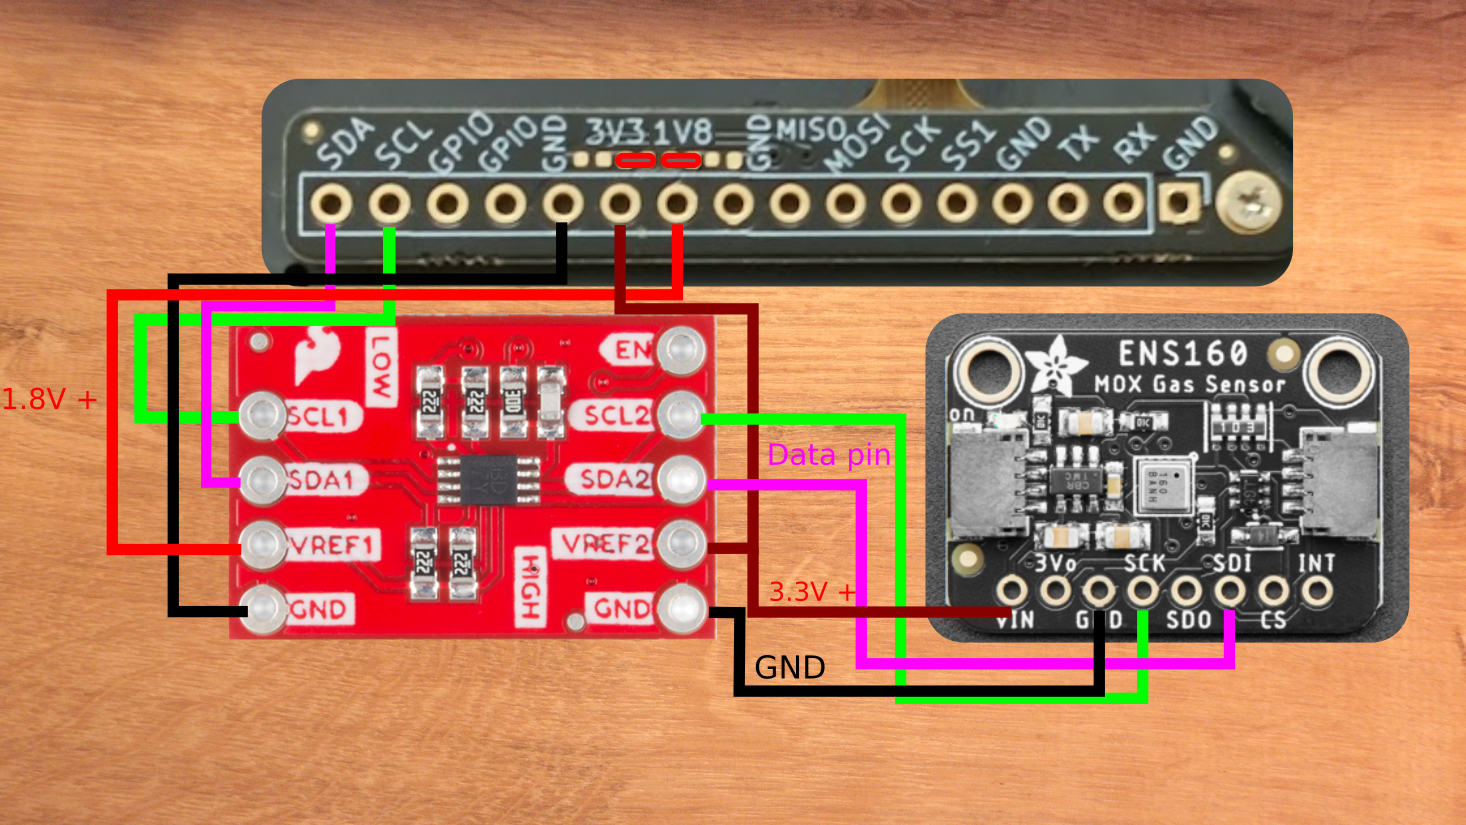
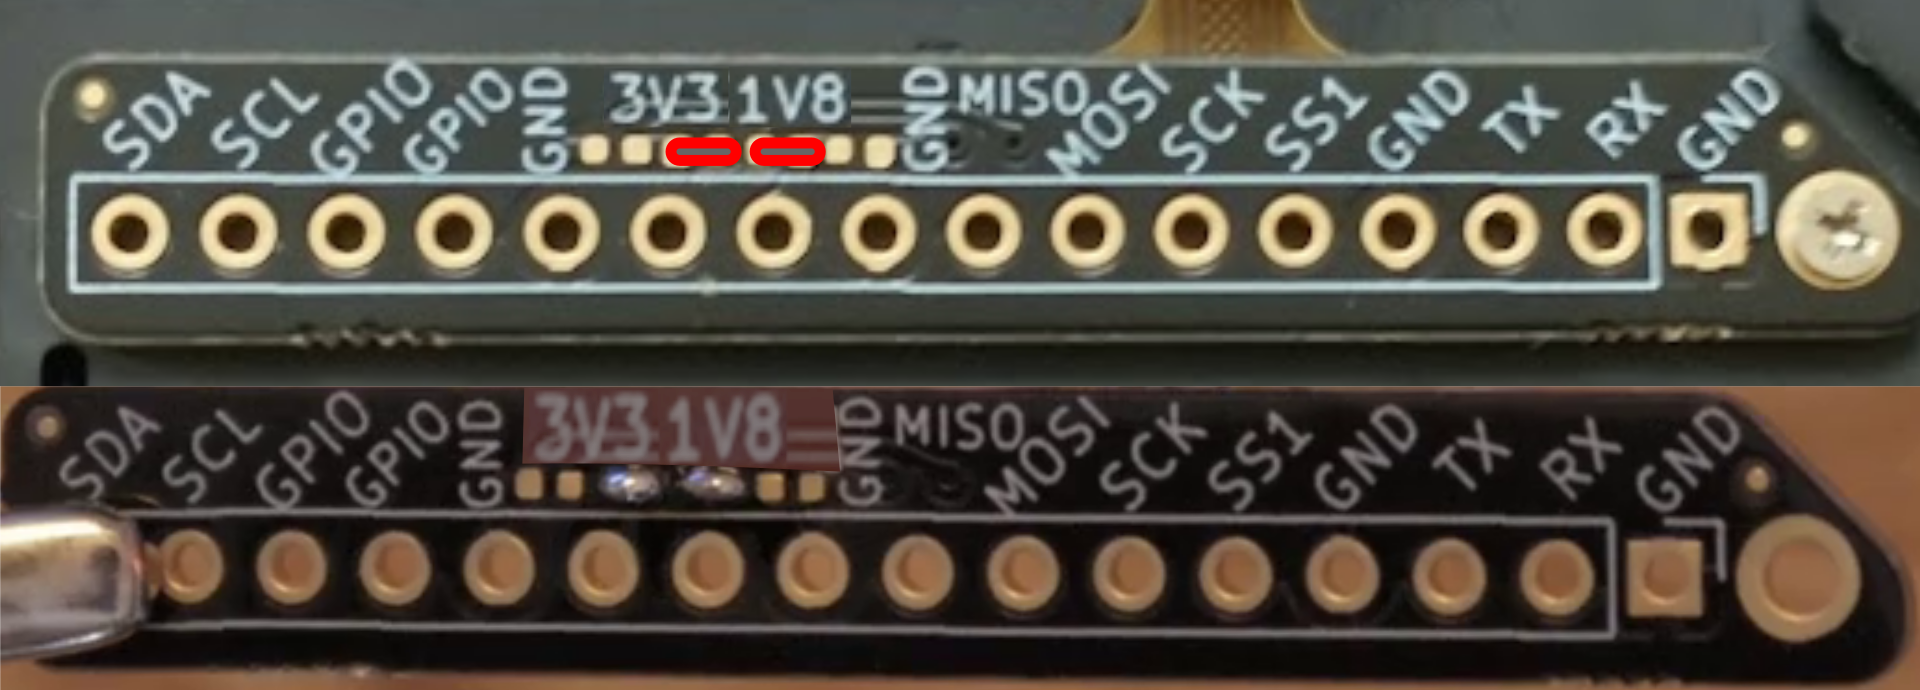
Now that we know what will be hooked up, we can short these pads with solder on the breakout board to expose 3.3V and 1.8V. With that done, we can attach the breakout board to the Librem 5.
Installation
Power down your Librem 5 phone.
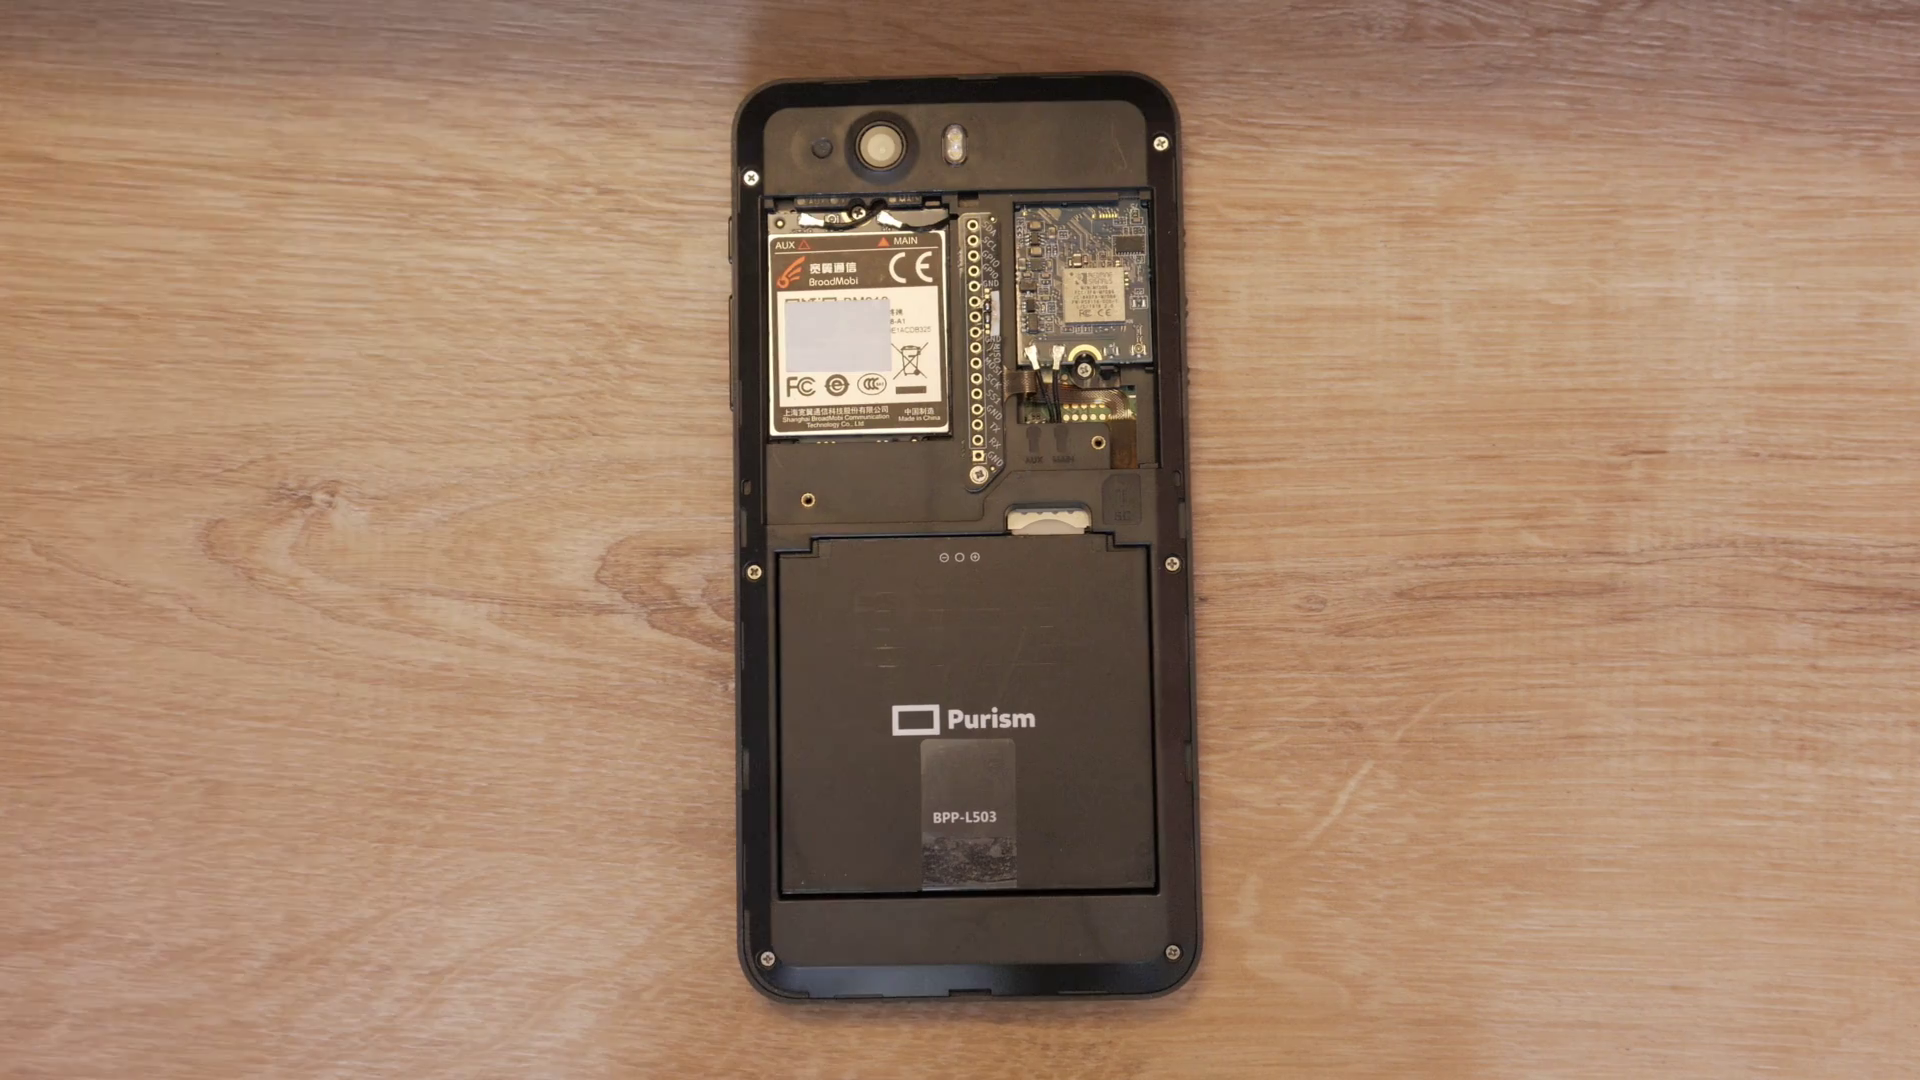
Remove the back cover and pull out the battery.
Remove the Wi-Fi card and modem cover.
Carefully remove the wires to the Wi-Fi module.
Try to gently maneuver the breakout board into position.
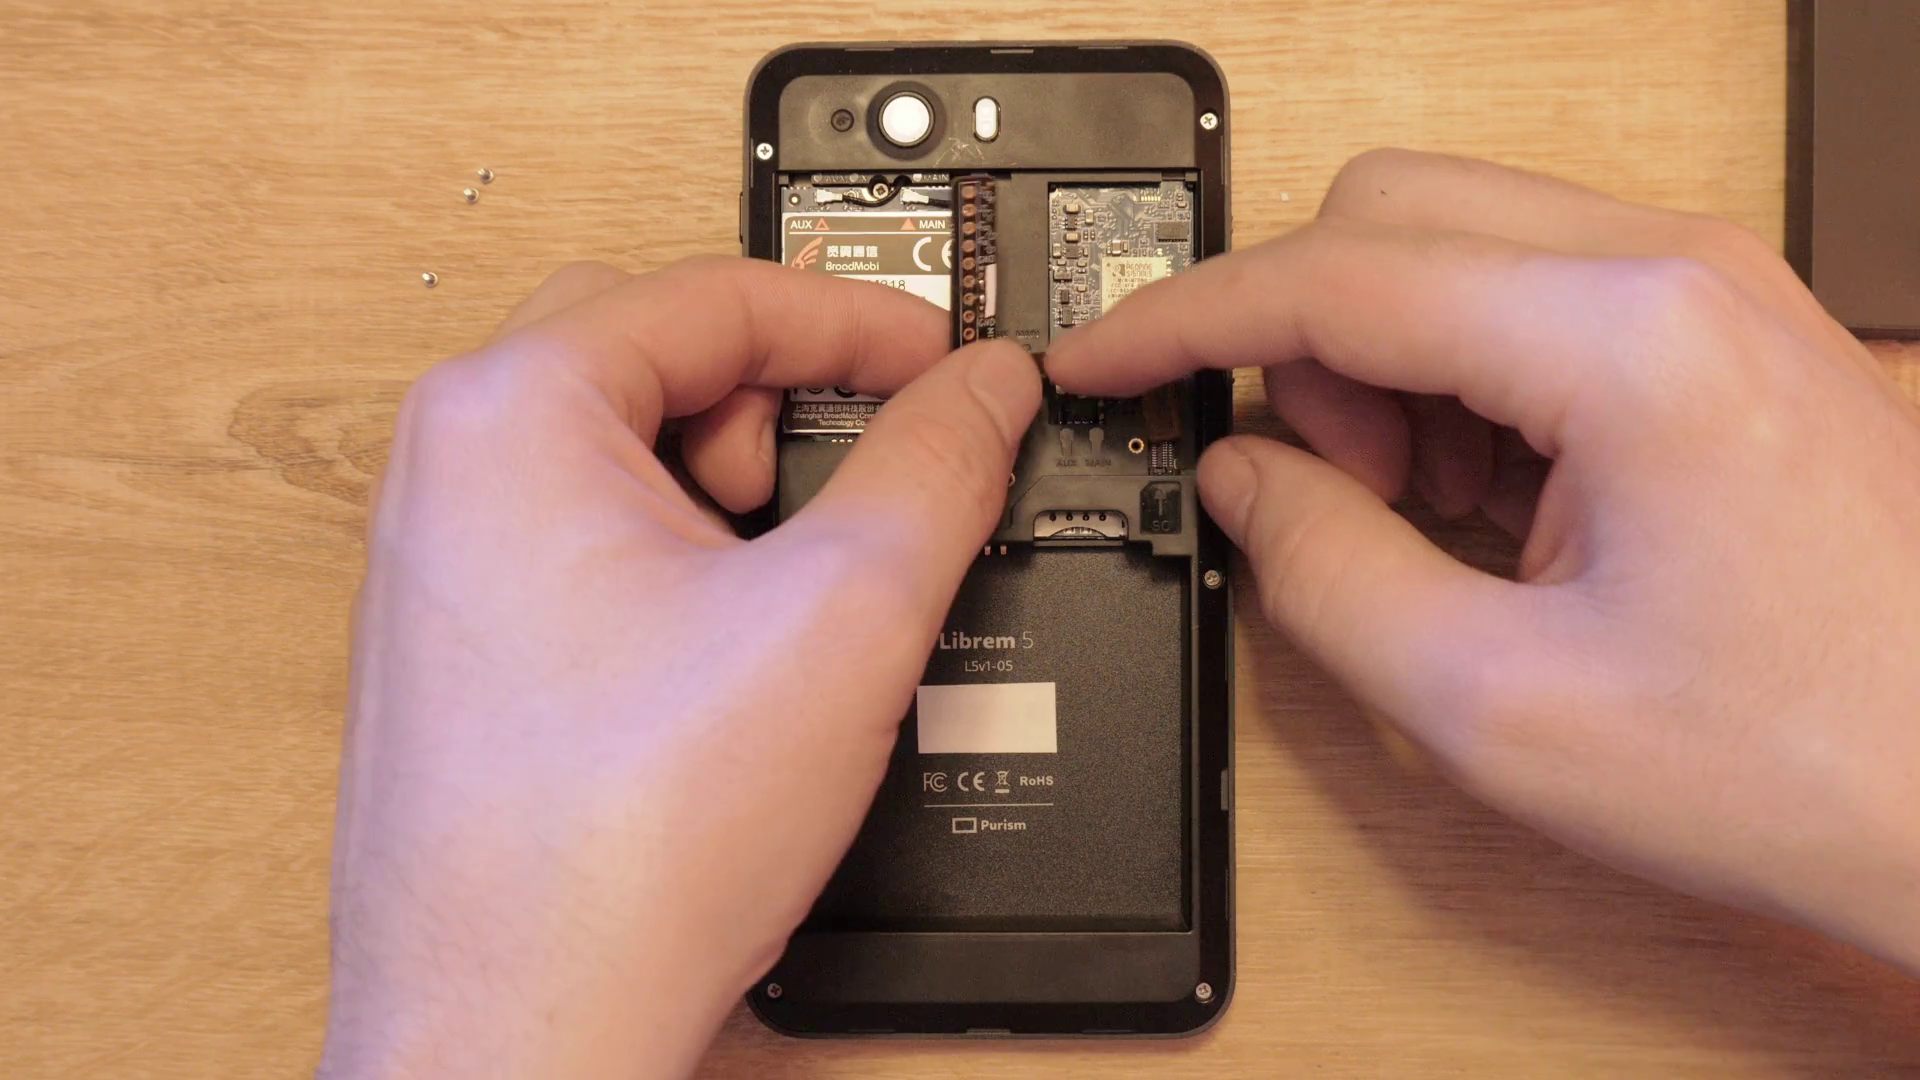
If you cannot get the connector aligned with the mid-frame in place, you must remove it by taking out the Wi-Fi and Cellular M.2 modules. You’ll also need to remove the screws around the frame.
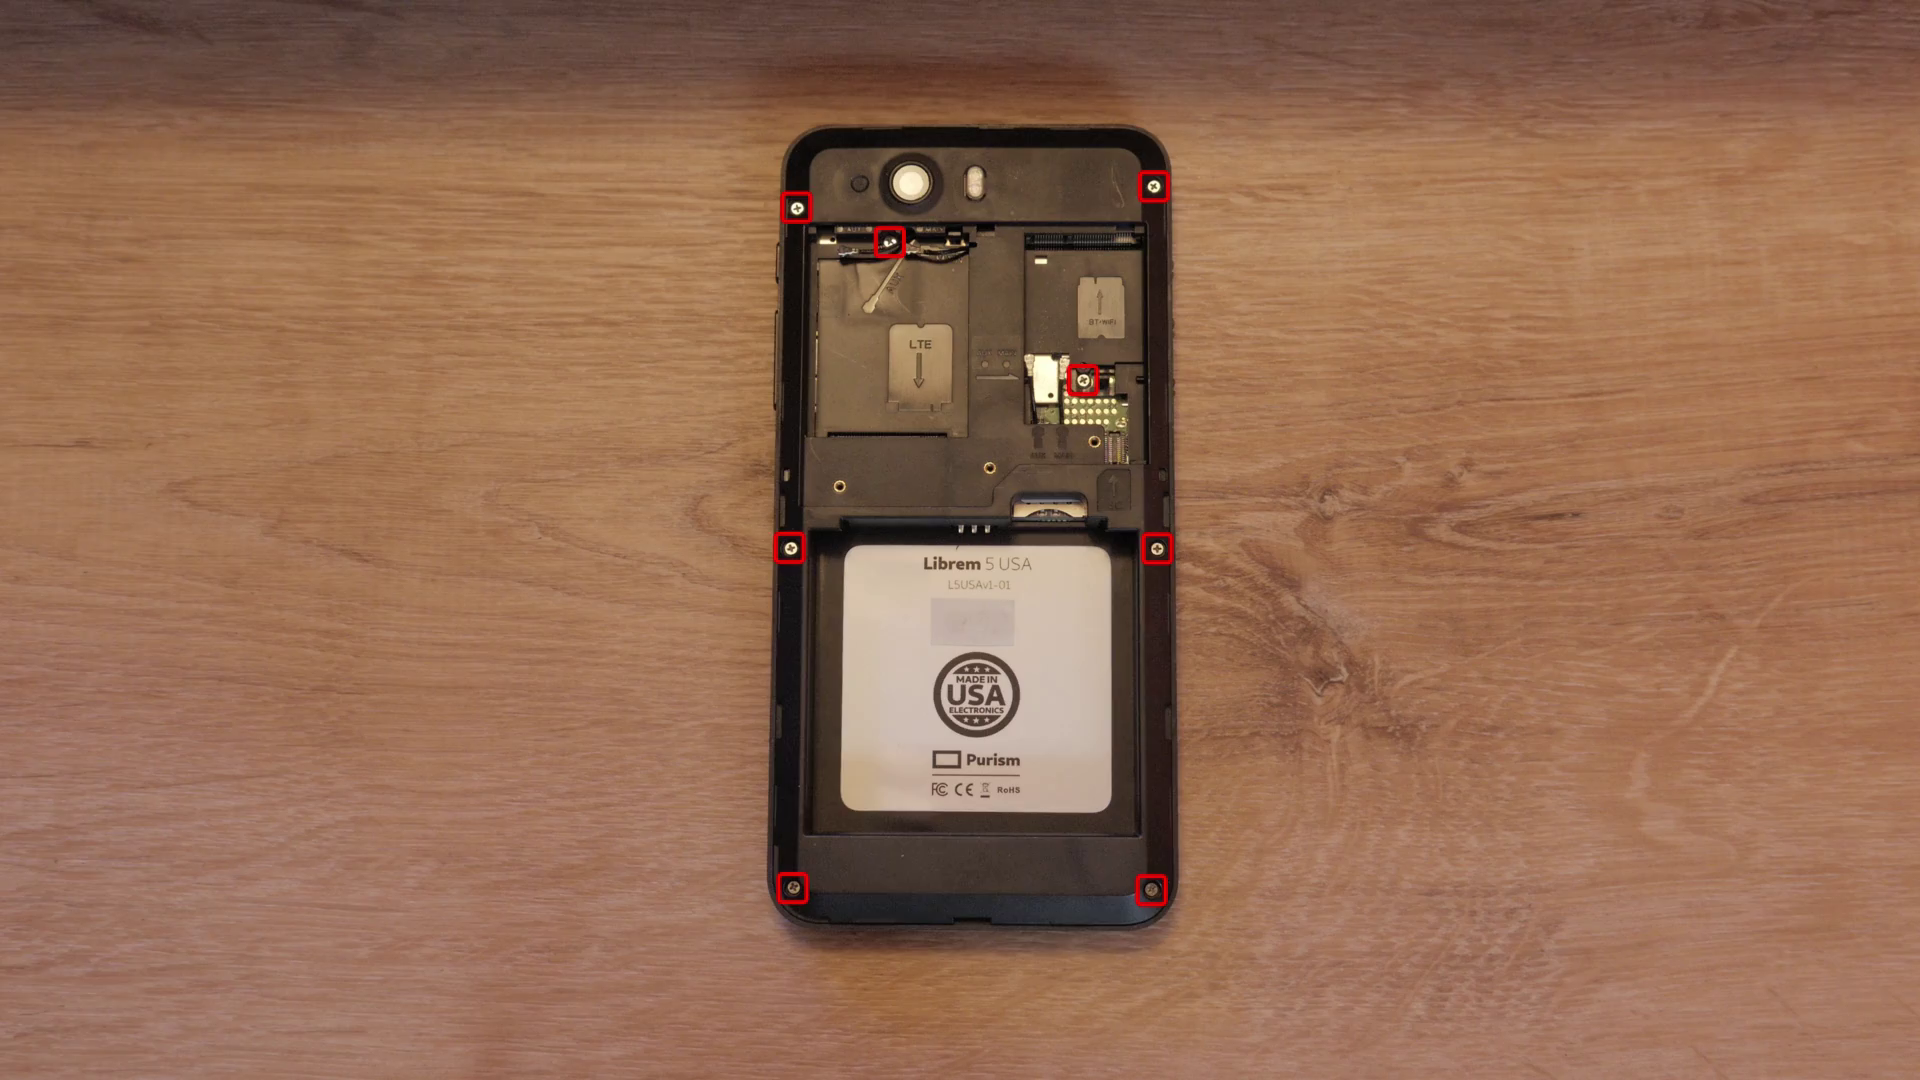
Then take a spudger or pick and pop off the center frame.
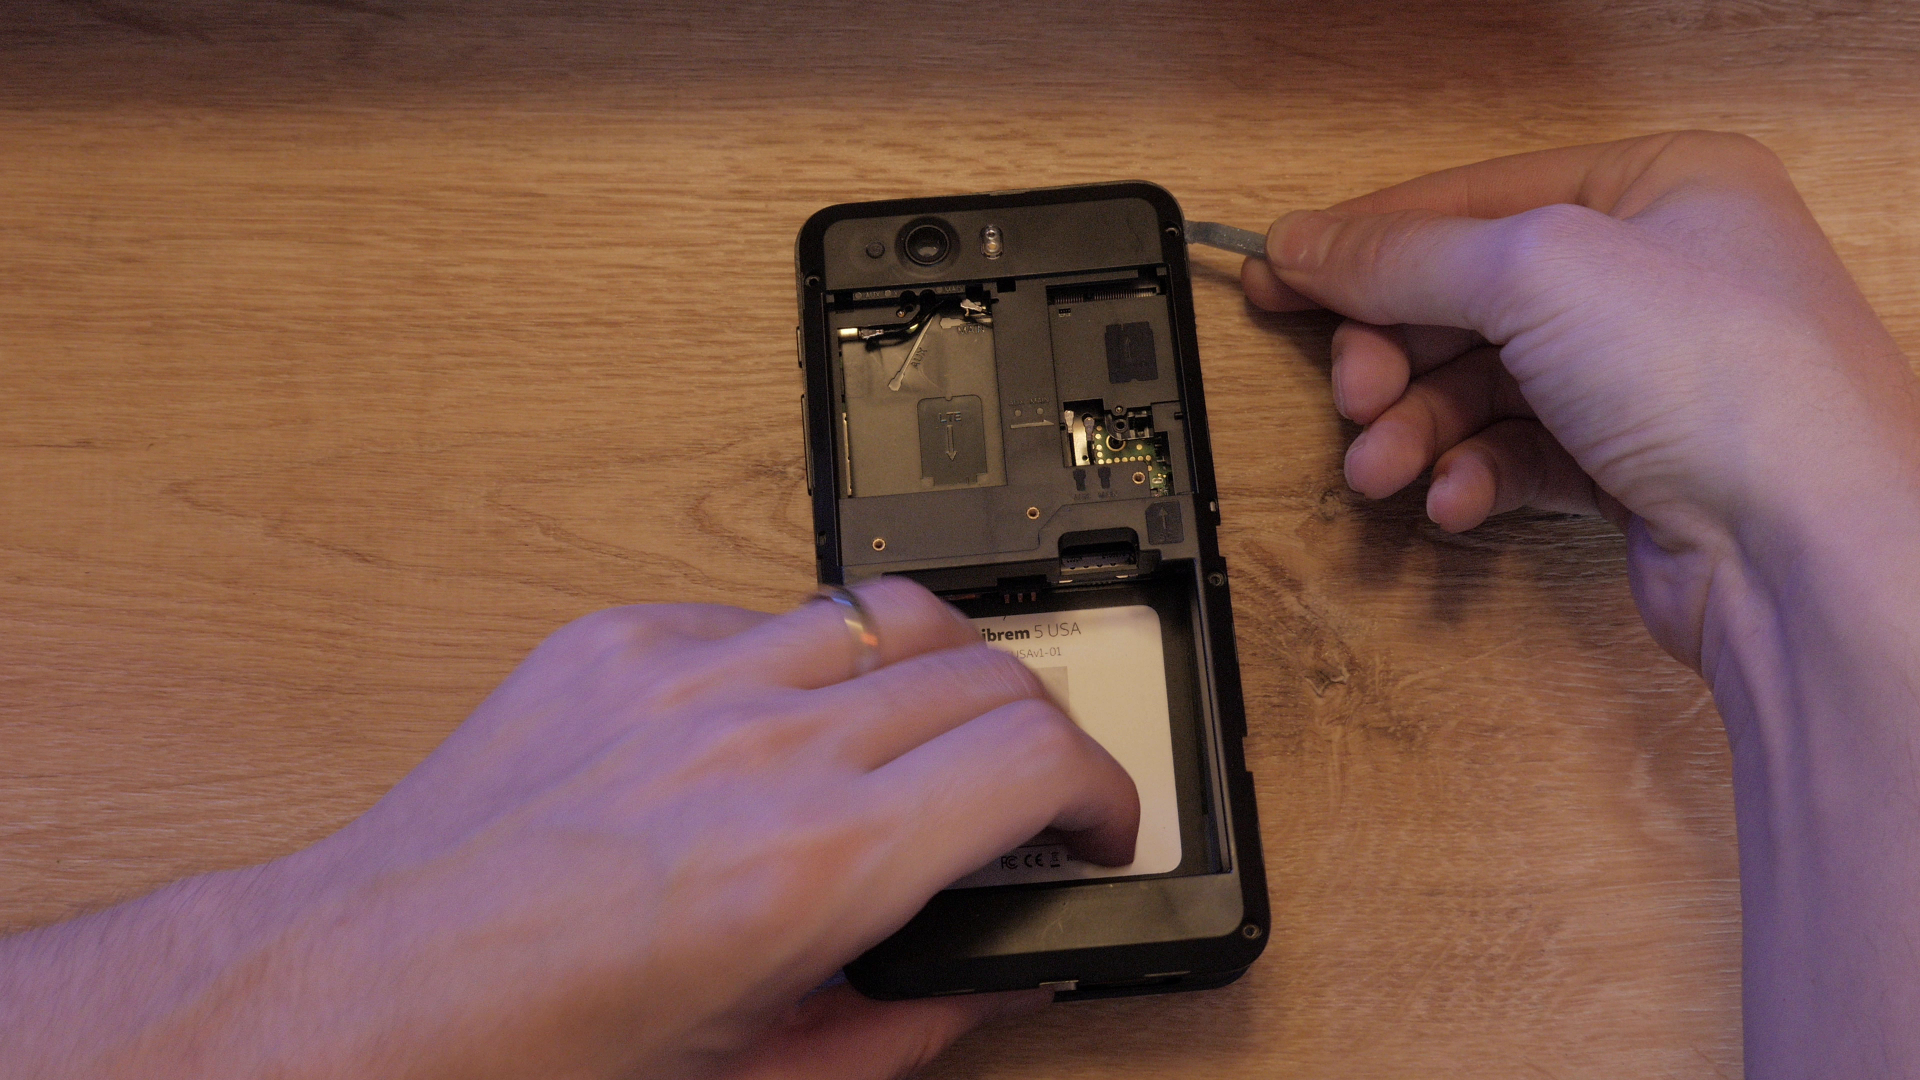
Attaching or detaching the breakout board is easier with the center frame removed. Carefully line up the breakout board and press it on with minimal force.
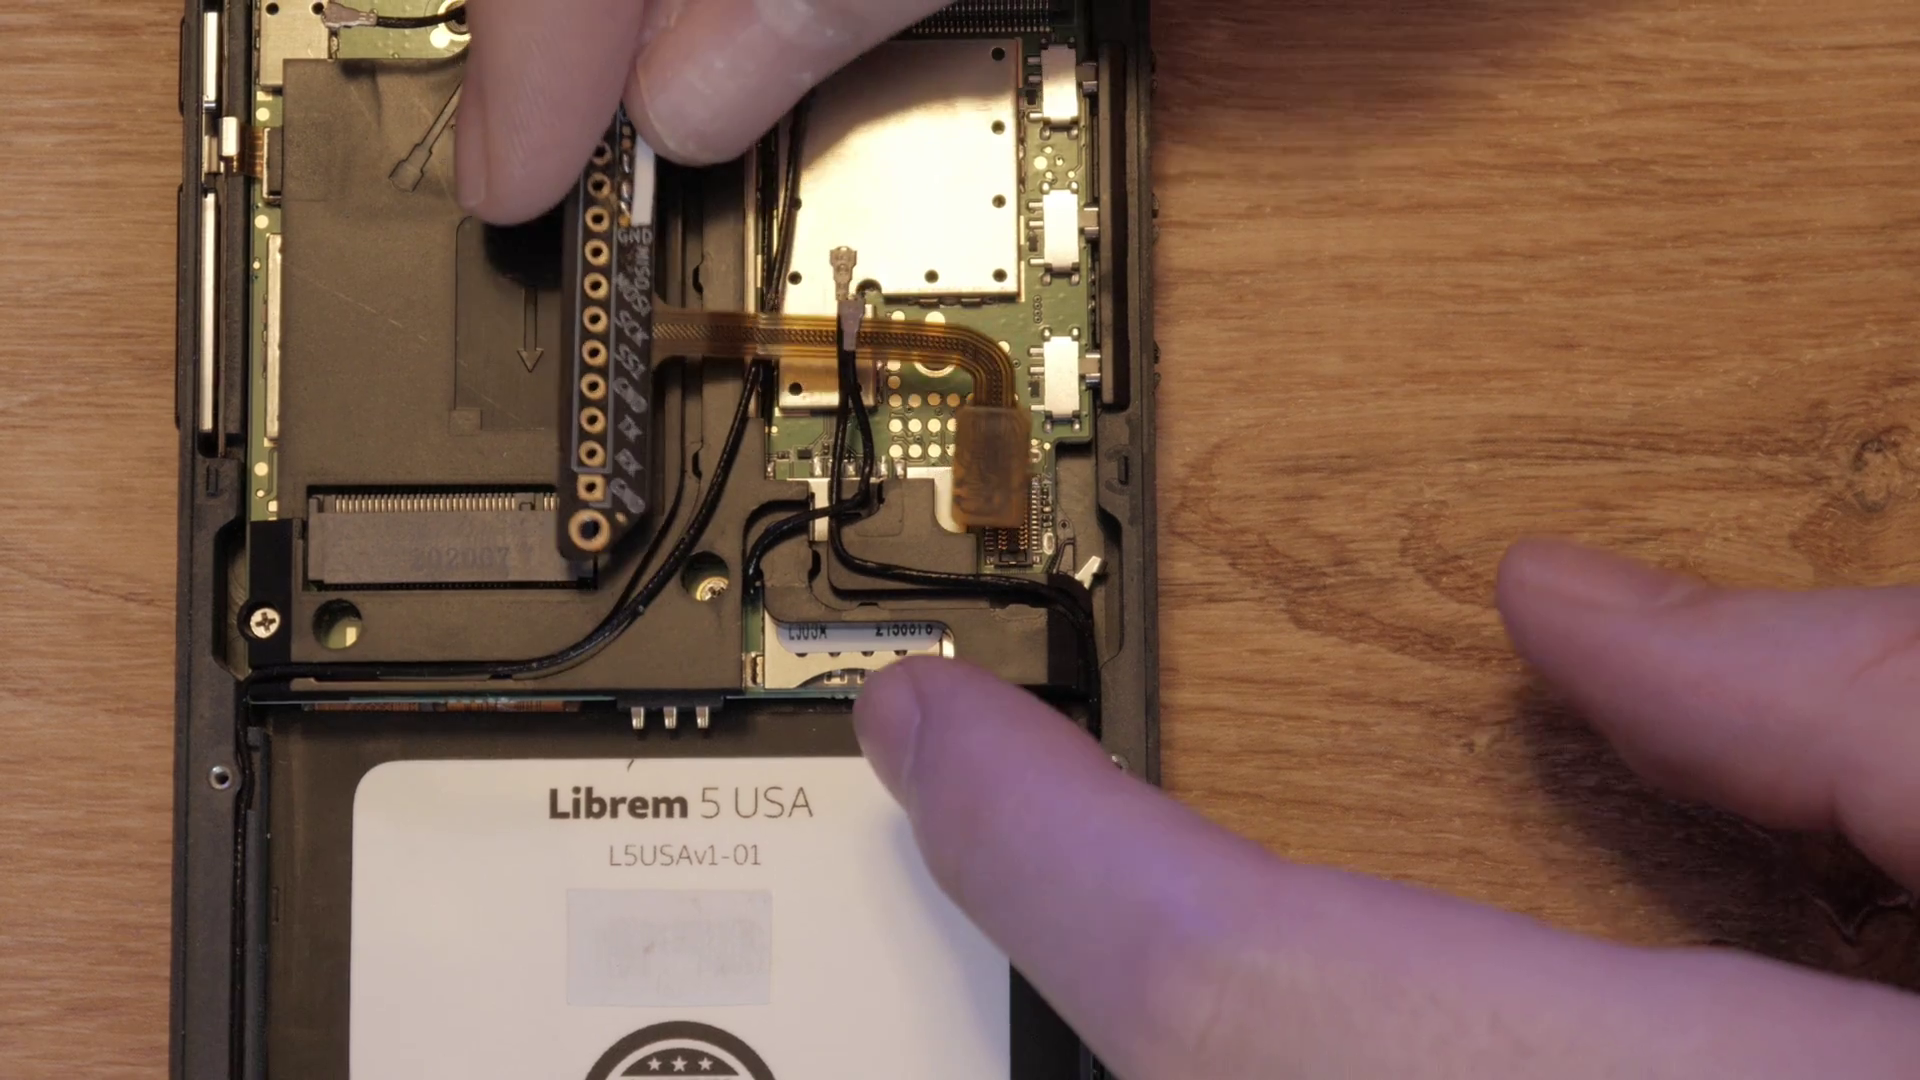
If you need to reattach your center frame, carefully feed the breakout board through, snap on and screw down the frame, and reinsert your Wi-Fi and cellular cards.
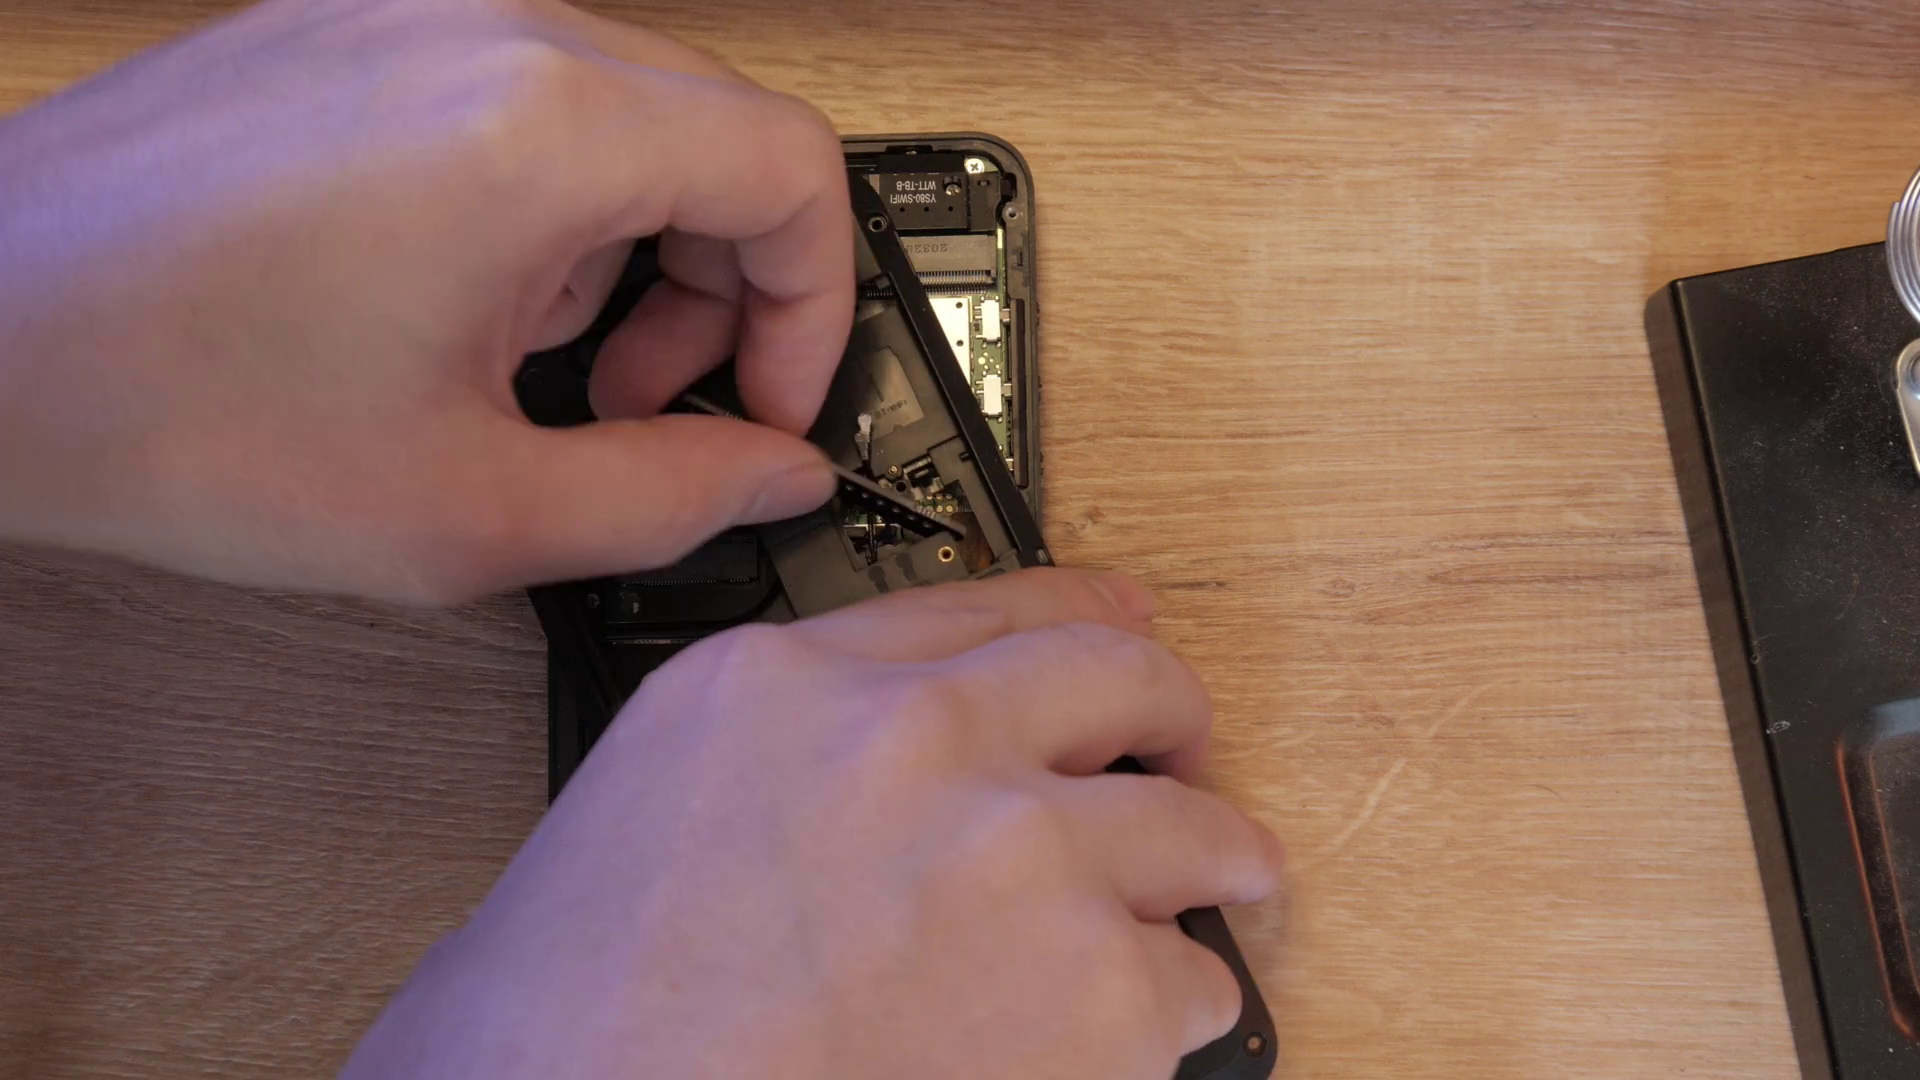
Reinstall your smart card, SIM, and SD card.
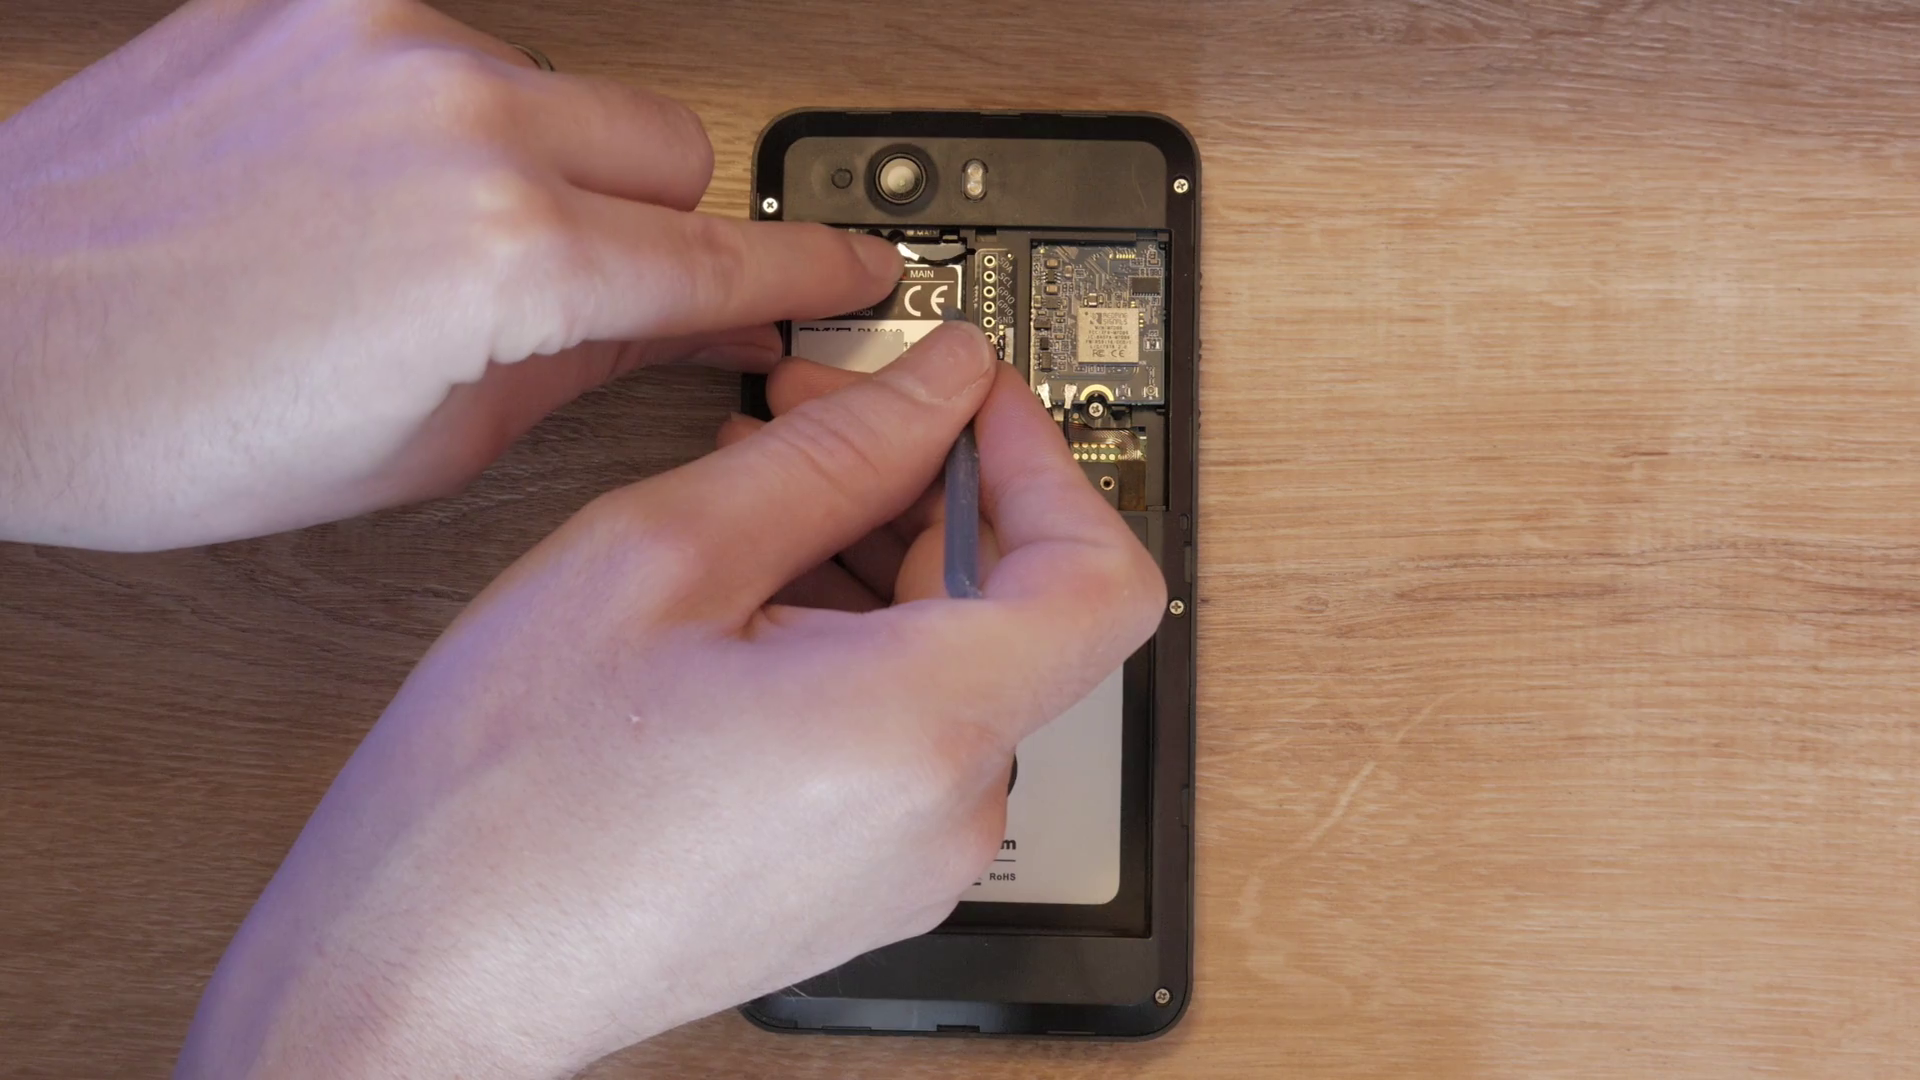
Screw down the breakout board with one of the 3 screws used for the M.2 cover plate.
Prototyping
You can now attach your battery and back cover or start prototyping.
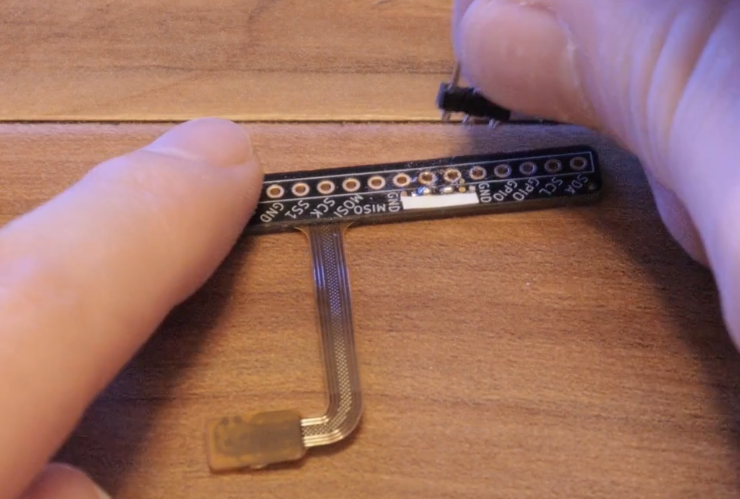
A convenient way to attach pins to the Rigid-Flex Breakout Board is using trimmed press-fit headers. Clipping them like this makes it simple to install and remove.
Once your creation is ready, boot up your phone and create your driver in whatever language you prefer. You can check out the code and case model used in this Librem 5 gas sensor dashboard project.
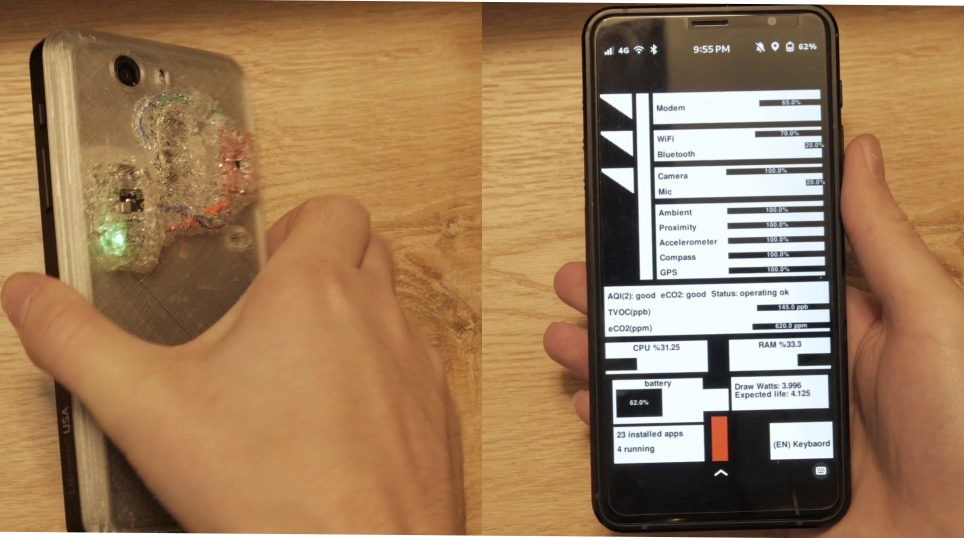
If you build compactly, you can fit everything in the case. For this project, a custom case was needed for the extra sensor.
For tech tinkerers that want to customize their Librem 5 phone, check out the EXT CON Breakout Board shop page.